Executing (running) the Razor Pages Web Application - ASP.NET Core 7 Part 2
ASP.NET Core 7: Executing (running) the Razor Pages Web Application using Visual Studio 2022

This is part 2 of the "Web App Development Beginners Guide" tutorial series. In this tutorial series, we will learn how to build a functional Web Application with individual account user login. We are using the project we created in the previous tutorial: ASP.NET Core 7: Creating A Razor Pages Web Application: Step-By-Step Guide
Part 2: ASP.NET Core 7: Executing (running) the Razor Pages Web Application
In the previous tutorial, we created an ASP.NET Core 7 Razor Pages web application using Visual Studio 2022. In this tutorial, we'll learn how to view the website; essentially, how to run the web application we built in a browser.
Note: I have marked red labels in the pictures shown in this tutorial for explanation purposes, those red typing or numbers are not actually shown in the actual Visual Studio windows on your computer.


Since we didn't change any code after creating the project using the ASP.NET Core Web application project there shouldn't be any errors. We can run the program to see the finished product.
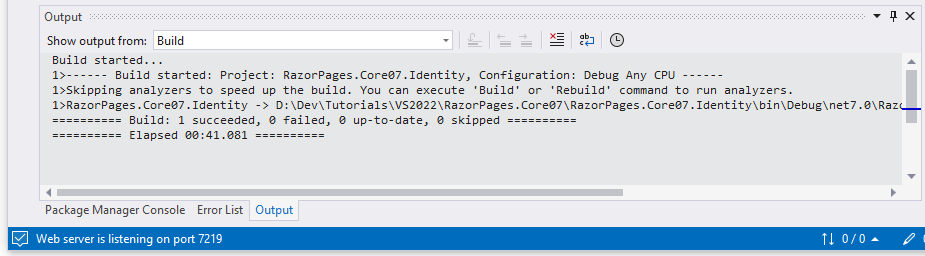
Once you run the App IDE will compile the program and then open the App in the Web browser. During the compilation, it will show up messages in the output window and some animations on the bottom blue status bar.


So this completes the "Part 2: ASP.NET Core 7: Executing (running) the Razor Pages Web Application" tutorial. Hope this tutorial is a valuable introduction for those new to ASP.NET core and Visual Studio 2022 IDE.
Hope this helps you create an ASP.NET Core 7 Razor Pages Web Application.
To learn more details about the application we created, please look at the next article:
Reference:
Links: Icon used


Comments
Post a Comment